Hello hello friends!
Sorry for the silence on the blog this past week! My last week in Colorado until 2014 was busy, busy, busy! I was like a really tall bee. (10 points to whoever can get that reference!)
Since it’s in that last-minute Christmas rush, I thought I would give you all a last-minute gift or decorating idea: Homemade Snow Globes!
I must warn you, I am not one of those adorably crafty bloggers that are little Martha Stewarts in training. My apartment is not filled with homemade decor and I hardly ever gift homemade gifts.
Unless you count baked goods. I have giving-baked-goods-as-gifts down to a specific art form.
BUT.
Crafts, I do not do. My cute crocheted scarf for my sister started unraveling. Another scarf started out nice and wide and ended up half as skinny. The hat for my brother is a giant, round circle that maybe could be a rug. The homemade ornaments I tried one year, where you dump paint in a clear glass ball and swirl it around, all have a bunch of dried and cracked paint in them that mostly turned brown because I wanted all the colors instead of a select few.
BUT.
Not this craft! This is a craft for all of us DIY-challenged, and for all of you who have a little more talent in this area, too.
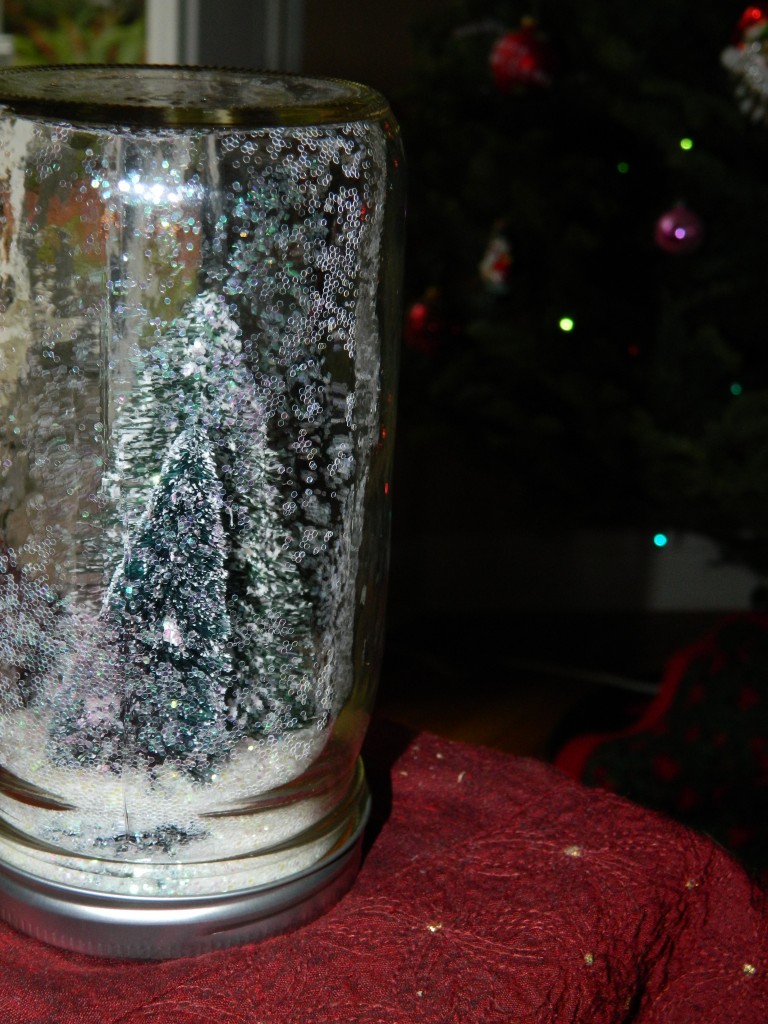
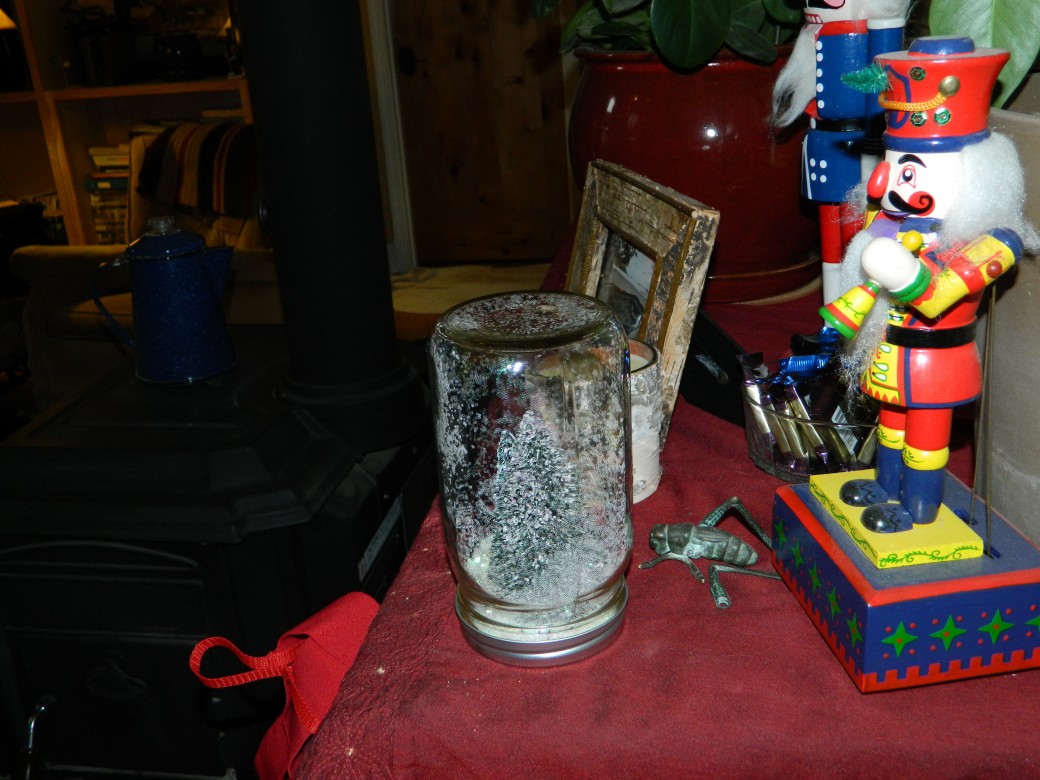
Isn’t it beautiful?
I was inspired to make this craft when shopping last year for my cousin. At a certain unnamed store with the cutest merchandise that is slightly (read: immensely) out of my price range, I saw similar snow globes. They are simply trees with glitter in upside-down mason jars. My cousin, seeing me drooling and trying to justify spending waytoomuch on a decorative jar, suggested I try making them.
After several unsuccessful attempts that included cutting hot glue out of my hair, they worked!
SUPPLIES:
- White glitter (unless you want a different color for the snow). A LOT of this so it’s nice and snowy! Clear glitter really doesn’t work, just so ya know.
- Tiny trees in a variety of sizes, with bases, tipped with fake snow if possible. I found mine at a local craft store, but any sort of Hobby Lobby or JoAnn’s or even WalMart will have a selection. I found a whole bag of them at Michael’s!
- Mason jars in a variety of sizes (or just one mason jar, depending on how many of these you are making. I got hooked and couldn’t stop at one!)
- Hot glue gun
- Hot glue gun sticks (is this the right name for these? I warned you I wasn’t much of a crafter).
METHOD:
- Pick your size of mason jar. The bigger ones work best because the lid of the jar has to be large enough to hold the base of the tree.
- Pick your trees. You can do as many bases will fit in the lid of the jar–I generally do between one and three depending on the size of the jar and the tree. Play around with the placement of the trees, and slip the jar over the lid if you’d like, to get a better idea of the final product.
- Heat your glue. (I know this may not seem like a necessary step to include for some, but for some us, we may attempt to use the glue gun after forgetting to plug it in.)
- After you’ve finalized the placement of the trees, glue them to the lid of the mason jar.
- While the trees dry (they may need some extra glue here and there), fill your mason jar with glitter. About a quarter full usually does the trick so it’s a nice globe filled with snow, but it all depends on how much you like.
- When the trees are dry, put the lid on the jar, taking care to squeeze the trees in gently. Screw the outer ring on tightly, adding some glue there for extra security if you wish (I never have, and I’ve never had a glitter disaster, but you never know!).
- Flip it over (and over and over) and watch the snow fall!
- Voila! You have an easy piece of decor that is pretty and festive, or a great gift!
You’re welcome.
Happy almost four days until Christmas!

